
Flour-less Blender Rice Bread
If you’re looking for a gluten-free bread option that’s easy to make and doesn’t require any fancy flours, you’ll love this flour-less blender rice bread. It has a delightful texture that’s soft, fluffy, and slightly chewy, making it perfect for sandwiches or simply enjoying with a spread of butter. Not only is this bread a great choice for those with allergies, but it also showcases the wonderful versatility of rice.
Recipe Overview
- Prep Time: 12 hours (includes soaking)
- Cook Time: 40 minutes
- Total Time: 12 hours 40 minutes
- Servings: About 8 slices
- Estimated Calories: 110 per slice
Ingredients
- 200g rice
- 110g water
- 10g sugar
- 2g salt
- 10g cooking oil
- 3g yeast
Instructions
- Wash the rice thoroughly and soak it overnight in water, ensuring the water is about 5 cm above the rice.
- Preheat your oven to 200℃ (400℉). Prepare a bread pan by lining it with baking paper and greasing it with cooking oil.
- The next day, drain the rice but keep the rice water. You should end up with 110g of soaked rice.
- In a blender, combine the soaked rice, 110g of the rice water, 10g of sugar, and 2g of salt. Blend until the mixture is smooth.
- Add 10g of cooking oil to the blended mixture and stir it lightly.
- Refrigerate the batter for about 30 minutes to cool it down.
- After cooling, bring the temperature down to 22-25℃ and add 3g of yeast. Knead the yeast into the batter evenly.
- Pour the batter into your prepared baking pan. Let it ferment until it increases to about 1.5 times its original size. Be cautious not to let it double in size; it should be about 60-70% full in the mold.
- Bake the bread in your preheated oven for 40 minutes.
- Once baked, let the bread cool completely before slicing.
Why This Recipe Works
This recipe is straightforward and uses just a few simple ingredients. Soaking the rice overnight hydrates it, ensuring a smooth blend and a perfectly fluffy texture. The cooling and fermentation steps help develop flavor while keeping it light and airy.
Serving Ideas
This rice bread is versatile! Enjoy it fresh with some butter or jam, or use it for sandwiches filled with your favorite ingredients. It’s also a wonderful option for brunch alongside a warm bowl of soup or salad.
Helpful Tips
- Make sure to soak the rice overnight to achieve the right consistency when blending.
- Keep an eye on the fermentation process; it’s better to err on the side of under-fermentation to avoid a dense loaf.
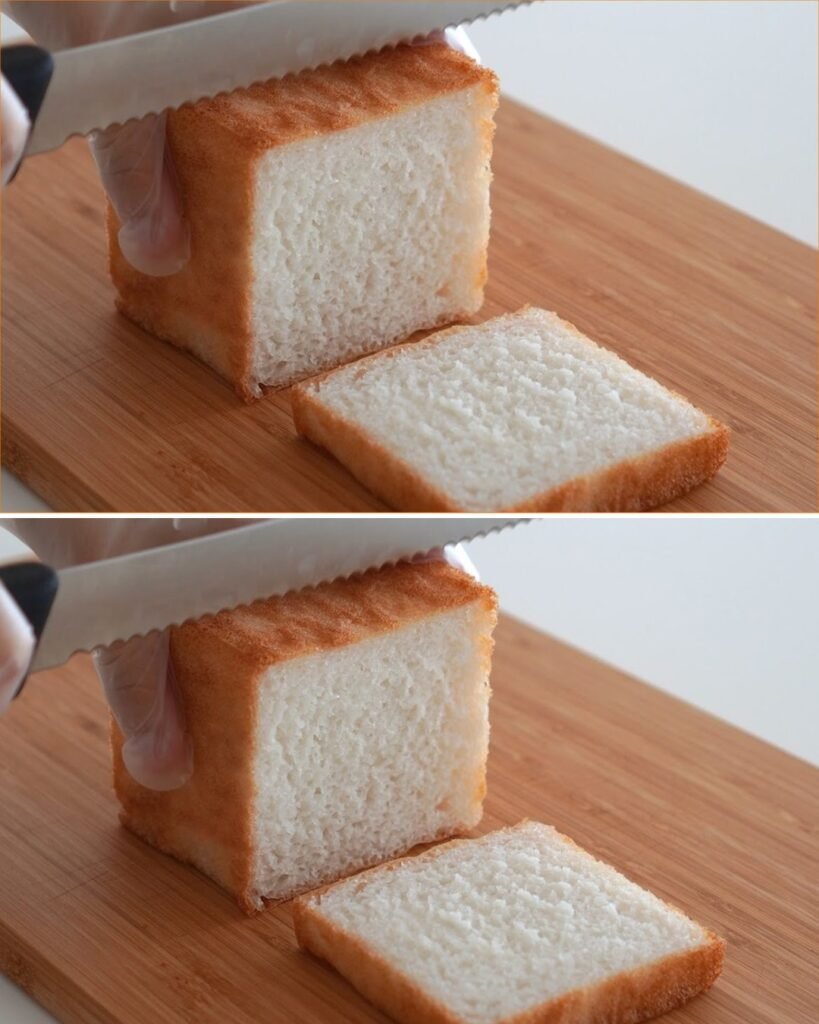
- Allow the bread to cool completely before cutting; this helps it set and makes slicing easier.
- Store any leftovers in an airtight container to keep it fresh, or slice and freeze for later use.
FAQ
1. Can I use a different type of rice?
Yes, you can use different varieties, but keep in mind that brown rice might require a longer soaking time, while jasmine or basmati rice will work well too.
2. Is it necessary to refrigerate the batter?
Yes, cooling the batter helps control the fermentation process and leads to a better texture.
3. What if I don’t have a bread pan?
You can use any suitable oven-safe dish as long as it’s greased and lined properly.
4. How long will the bread last?
It’s best eaten fresh but can be stored in an airtight container for up to 3 days or frozen for longer preservation.
Making your own flour-less rice bread at home is both rewarding and delicious. Give this recipe a try, and enjoy the wonderful aroma and taste of freshly baked rice bread!