
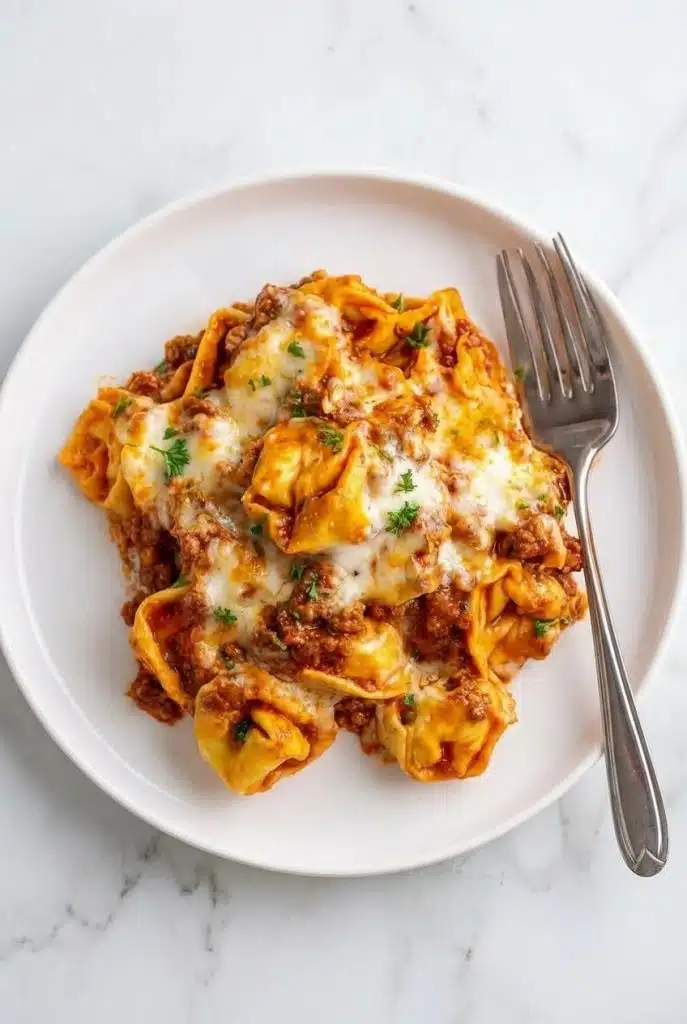
This Cheesy Baked Tortellini Casserole is the ultimate cozy comfort food—tender cheese-filled tortellini baked in a rich, savory marinara sauce and topped with layers of gooey, golden melted cheese. It’s an easy, family-friendly dinner that comes together quickly and tastes like pure Italian-inspired comfort in every bite. Perfect for busy weeknights or casual gatherings!
Servings: 8
Ingredients
Pasta & Sauce
- 20 oz about 560g refrigerated cheese tortellini
- 2 cups marinara sauce
- 1 cup tomato sauce
- ½ lb 225g ground beef or Italian sausage (optional)
- 1 tsp Italian seasoning
- ½ tsp salt
- ¼ tsp black pepper
Cheese Layer
- 1 ½ cups shredded mozzarella cheese
- ½ cup shredded cheddar cheese
- ½ cup grated Parmesan cheese
- ½ cup ricotta cheese
Optional Add-Ins
- ½ cup diced onion
- 2 cloves garlic minced
- ½ tsp red pepper flakes
- Fresh basil or parsley for garnish
Instructions
-
Preheat the Oven
-
Set oven to 375°F (190°C).
-
Lightly grease a 9×13-inch baking dish.
-
Cook the Tortellini
-
Bring a large pot of salted water to a boil.
-
Cook tortellini according to package directions (usually 3–5 minutes).
-
Drain and set aside.
-
Prepare the Sauce
-
(Skip this step if making a meatless version.)
-
In a skillet over medium heat, cook ground beef or sausage until browned.
-
Drain excess fat.
-
Stir in marinara sauce, tomato sauce, Italian seasoning, salt, and pepper.
-
Simmer 5 minutes.
-
Assemble the Casserole
-
Spread a thin layer of sauce in the baking dish.
-
Add half of the cooked tortellini.
-
Spoon over half of the sauce.
-
Add small dollops of ricotta.
-
Sprinkle with mozzarella and cheddar.
-
Repeat layers.
-
Finish with Parmesan on top.
-
Bake
-
Cover loosely with foil.
-
Bake for 20 minutes.
-
Remove foil and bake an additional 10–15 minutes until bubbly and golden.
-
Rest & Serve
-
Let casserole rest 5–10 minutes before serving.
-
Garnish with fresh herbs if desired.