
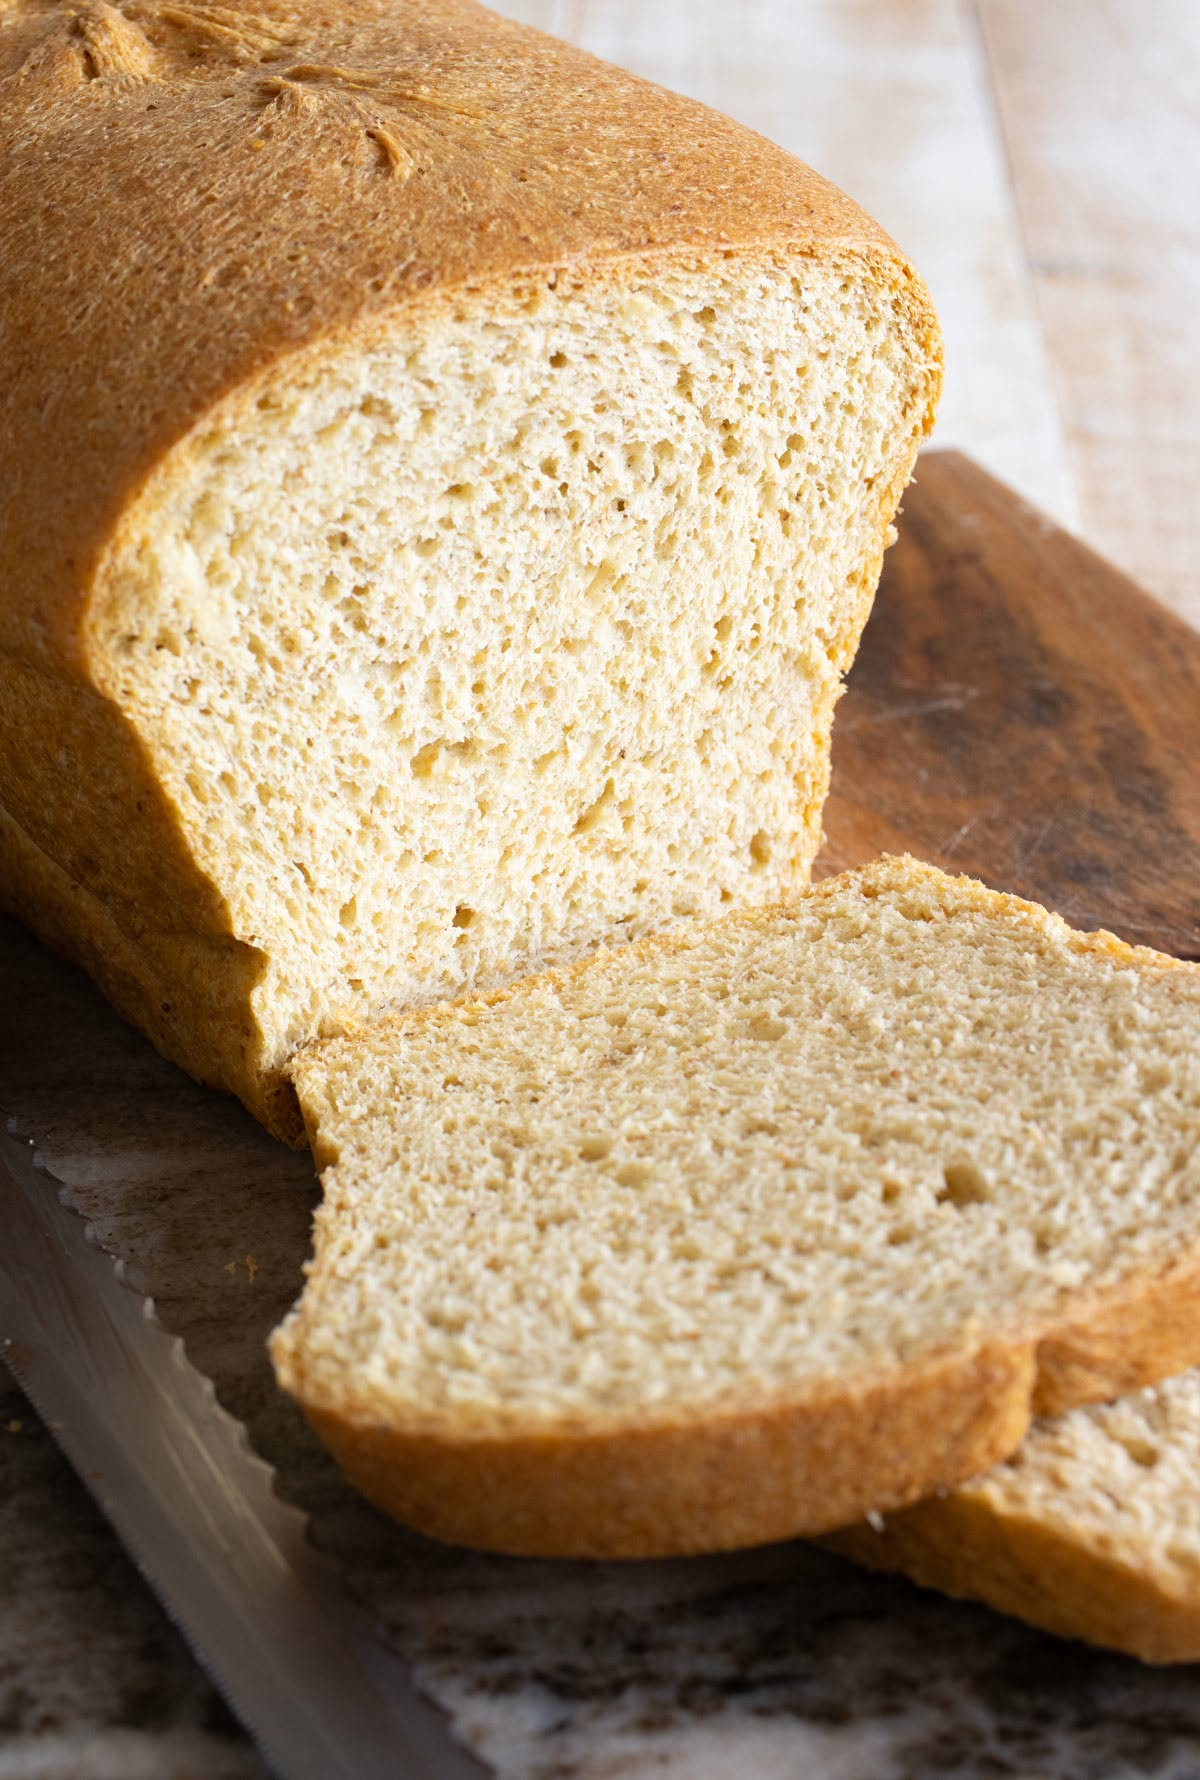
Keto Yeast Bread
- Yeast – Instant dried yeast powder, or fast acting / quick yeast. I have made the bread with Allinsons Time Saver yeast as well as Doves Farm Quick yeast. It helps the bread rise and gives it that light and fluffy crumb structure.
- Inulin – This is a gently sweet prebiotic fibre that I use in place of sugar to activate the yeast. As a replacement, it is possible to use honey or sugar. Yes, even that is 100% keto friendly! The yeast feeds on the carbs during fermentation. Important: Low carb sweetener does not activate yeast and you cannot use it here.
- Water – Must be warm water (think baby bath temperature), not hot or cold. Hot water can kill yeast!
- Eggs – I have made the bread with 2 whole eggs and also with 3 egg whites. The taste is pretty much the same.
- Olive oil – I used a light olive oil to keep the recipe dairy-free. You can also make the bread with softened butter, which is what Paul did. Exact amounts for this swap are in the recipe card notes.
- Wheat Gluten – This is not the same as wheat flour! Vital Wheat Gluten is made from the natural protein found in wheat. It is high in protein (80%) and very low carb. It gives the bread its elastic structure. The bread won’t work without it.
- Oat Fibre – It is a zero carb, insoluble fibre made from the outer husks of the oat. It adds bulk to the bread. I used Groovy Keto.
- Golden Flaxseed – Golden Flax meal has a milder taste than brown flax and it adds earthy “wholemeal” flavor to the bread.
Instructions
It is simple to make keto yeast bread. Here are the basic steps.
Scroll down to the recipe card for the detailed method with ingredient amounts, timings and nutrition information.
PREPARATIONS
- Grease the inside of a 9×5 inch silicone loaf pan with olive oil. If using a metal loaf pan, line it with parchment paper.
- Mill whole flaxseeds into a flour with a food processor or spice / coffee grinder. Shop-bought ground golden flax also needs to be reground into a finer flour.
- Bring eggs to room temperature.
- Set out digital kitchen scales to measure the flours. I’m not giving you US cup measurements for this recipe on purpose. You’ll get the best results with scales.
METHOD
STEP 1
Put the yeast, inulin and warm water into a large mixing bowl. Whisk to combine.
Cover the bowl with a kitchen cloth and put it in a warm place to activate the yeast, 5-10 minutes.
Visual clue: A thick layer of foam on top.
STEP 2
Add all remaining ingredients to the mixing bowl. Mix for 5 minutes with an electric mixer using dough hook attachments (whisk attachments won’t work).
The mixture starts out crumbly and turns into a smooth, supple and elastic dough.
STEP 3
Stretch the dough into a large rectangle, about as wide as your bread pan. This is the method Megan uses for her low see carb bread and it works like a dream.
STEP 4
Roll the dough into a log.
STEP 5
Place the dough log seam side down into the prepared loaf pan.
STEP 6
Loosely cover the pan with clingfilm (lightly oil it on the underside so it won’t stick to the dough) and wrap the bread pan into a kitchen towel.
Let the dough rise in a warm place for 60-90 minutes until it has doubled in size.
STEP 7
Bake the bread until the bread has risen and a golden crust has formed on top, around 42-48 minutes depending on type of pan and your oven.
Let the bread cool for a few minutes. Then, remove it from the pan and let it come to room temperature on a cooling rack, 90 minutes.
Katrin’s Top Tips
No experiments. Please make the recipe as tested and written the first time round and start your experiments next time. I want you to get the best results.
Don’t rush the steps. Stick to the recommended yeast activation time, mixing duration, rising time and cooling time of the bread. This ensures that the dough is elastic without holes and the bread texture is fluffy and light.
When is my bread done? The loaf has a golden crust all over, feel light and sound hollow when you tap it. The ultimate doneness test: Lift it out of the pan and weigh it. Straight from the oven, my bread was 648 grams. (It “lost” another 12 grams of moisture as the steam evaporated during cooling.)
Cool it fully. Wait for 90 minutes until it has firmed up and is easy to slice.